 Save
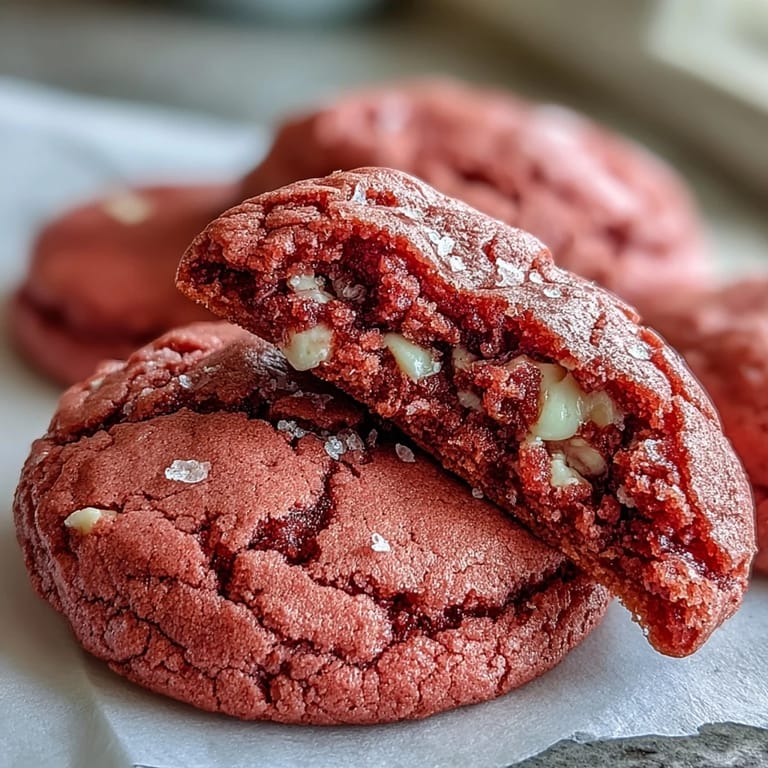
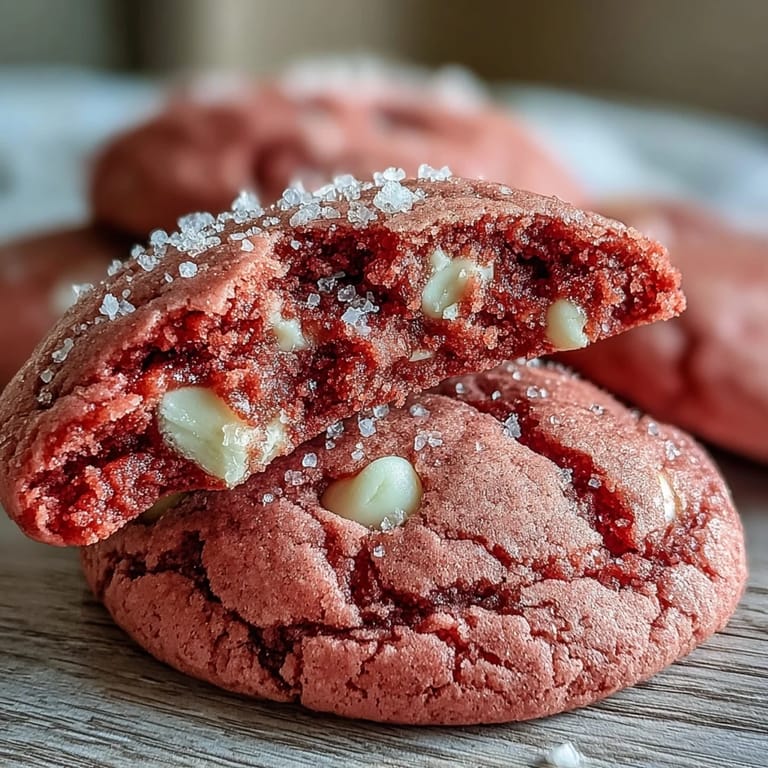
Save My neighbor showed up at my door one afternoon with a box of the most impossibly soft pink cookies I'd ever seen, and I spent the next twenty minutes interrogating her until she finally surrendered the recipe. Turns out, the secret wasn't anything mystical—just the right balance of butter, a whisper of gel coloring, and knowing exactly when to pull them from the oven while they're still a bit tender in the middle. Now I make them whenever I need a little mood boost, and somehow they've become the cookies people request by name.
I baked these for my daughter's school bake sale, and watching her hand them out while kids came back asking for more cookies was one of those small parenting wins that stuck with me. The pink color caught everyone's eye, but it was the soft center that kept them coming back to our table.
Ingredients
- All-purpose flour (2 ½ cups): This is your structural foundation, so make sure it's fresh and lightly spoon-and-leveled into your measuring cup rather than scooped straight from the bag.
- Baking powder (1 teaspoon): It works with the baking soda to give these cookies their tender crumb and slight lift.
- Baking soda (½ teaspoon): This reacts with the acidic ingredients to help the cookies spread just enough while staying soft.
- Salt (½ teaspoon): Never skip this—it amplifies the vanilla and white chocolate flavors in ways you won't consciously notice but will definitely taste.
- Unsalted butter (1 cup, softened): Room temperature is non-negotiable here; cold butter won't cream properly and you'll miss that crucial fluffy texture.
- Granulated sugar (1 ½ cups): This sweetens and helps the cookies develop that slightly crispy edge while keeping the center soft.
- Egg (1 large): It acts as a binder and adds tenderness, so use a fresh egg at room temperature for best results.
- Vanilla extract (2 teaspoons): Splurge on the real stuff here; imitation will taste thin and tinny compared to pure vanilla's warmth.
- Pink gel food coloring (2 teaspoons): Gel coloring gives you vibrant pink without adding moisture like liquid dyes do, which would throw off your dough's consistency.
- White chocolate chips (1 cup): Look for quality chips with cocoa butter, not palm oil substitutes, as they'll melt into little pockets of sweetness rather than staying waxy and clumpy.
Tired of Takeout? 🥡
Get 10 meals you can make faster than delivery arrives. Seriously.
One email. No spam. Unsubscribe anytime.
Instructions
- Combine your dry ingredients:
- Whisk the flour, baking powder, baking soda, and salt together in a medium bowl until they're evenly distributed. This step prevents lumps and ensures the leavening agents are spread throughout the dough, which guarantees even rising.
- Cream butter and sugar into fluffy clouds:
- Beat your softened butter with the sugar for about 2 to 3 minutes until the mixture looks pale and noticeably fluffier than when you started. You'll hear the mixer working harder as air gets beaten in, which is exactly what you want for tender cookies.
- Add egg and vanilla with color:
- Drop in the egg and vanilla extract, beating until everything is smooth and combined, then add your pink gel coloring and mix until the dough is uniformly tinted. If you want a deeper pink, add a bit more coloring drop by drop until you reach your desired shade.
- Bring wet and dry together gently:
- Add the dry ingredients to your wet mixture on low speed, stirring just until the flour disappears; overmixing activates the gluten and makes cookies tough rather than tender. Switch to a spatula for the final folding if needed.
- Fold in the white chocolate:
- Use a spatula to gently stir in the white chocolate chips, being careful not to crush them or overwork the dough. A few big chips are better than a dough that's been stirred to death.
- Chill the dough:
- Cover the bowl with plastic wrap and slide it into the refrigerator for 30 minutes—this resting period relaxes the gluten and helps the cookies hold their shape rather than spreading into thin wafers. Use this time to clean up or prep your baking sheets.
- Heat your oven and prep:
- Preheat to 350°F (175°C) and line two baking sheets with parchment paper so your cookies won't stick and you'll get an evenly browned bottom.
- Scoop and space:
- Use a cookie scoop or a tablespoon to create evenly-sized balls of dough, placing them about 2 inches apart on your prepared sheets. Uniform sizing means they'll all bake at the same rate.
- Bake until barely set:
- Bake for 10 to 12 minutes, watching for the moment when the edges look set and slightly firmer but the centers still jiggle a tiny bit when you gently shake the pan. This is the magic window—pull them out too early and they'll fall apart, too late and you'll lose that signature soft chew.
- Cool with patience:
- Let the cookies rest on the baking sheet for 5 minutes so they firm up just enough to transfer without falling apart, then move them to a wire rack to cool completely. They'll continue to set as they cool, reaching their final soft-chewy texture.
 Save
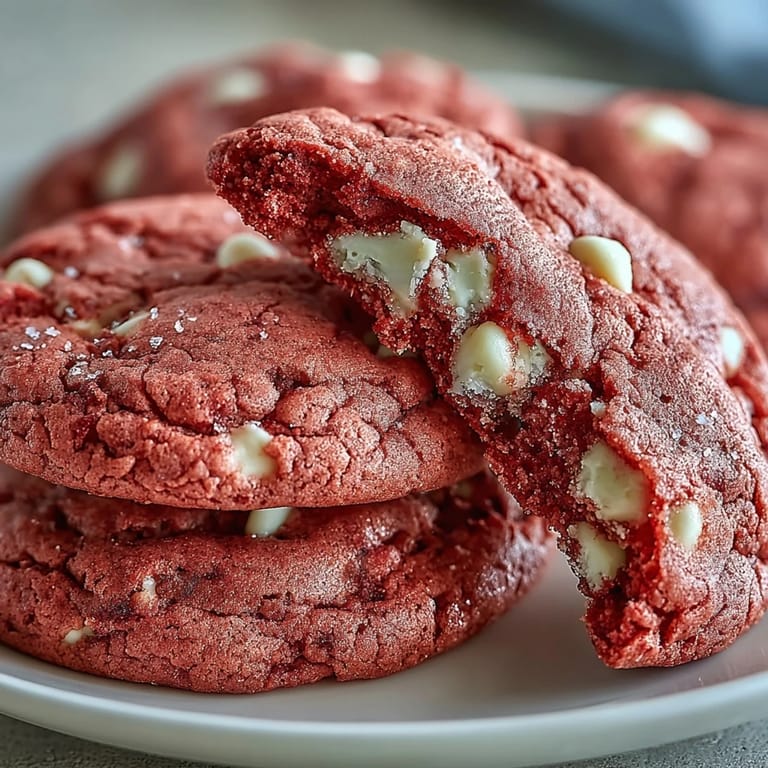
Save There's something about pink cookies that makes people smile a little wider, like they've stumbled onto something special meant just for them. I've learned that feeding people isn't really about the calories or the technique—it's about giving them a moment of softness in their day.
Storing Your Pink Velvet Treasures
Once your cookies have cooled completely, tuck them into an airtight container with a piece of parchment between the layers so they don't stick together. They'll stay soft and fresh for up to a week, though honestly they rarely last that long in my house.
Taking It Further
These cookies are a blank canvas for your creativity—I've sandwiched them with cream cheese frosting, dusted them with edible glitter, and even made mini versions for fancy tea parties. Some people add a whisper of almond extract or rose water, which transforms them into something almost floral and sophisticated.
Small Tweaks That Change Everything
The beauty of this recipe is how forgiving it is, and how small adjustments let you make it entirely your own. Swap in some almond extract for depth, scatter extra white chocolate chips on top before baking for show, or press a chocolate chip gently into the center of each cookie while they're still warm for a hidden treasure moment.
- For a gluten-free version, use a 1:1 gluten-free flour blend and your cookies will taste virtually identical.
- If you want them fancier, fill cooled pairs with cream cheese frosting to make elegant little sandwich cookies.
- Store in an airtight container and they'll soften even more by day two or three, which many people prefer.
 Save
Save These pink velvet cookies have a way of turning ordinary afternoons into small celebrations. Make them once and they'll become part of your regular rotation.
Recipe Questions & Answers
- → Why do pink velvet cookies need chilling time?
Chilling the dough for 30 minutes prevents excessive spreading during baking, ensuring thick, soft cookies with a tender texture. The cold dough also helps maintain the vibrant pink color without fading in the oven heat.
- → Can I use liquid food coloring instead of gel?
Liquid food coloring works but may alter the dough consistency since it adds extra moisture. Gel coloring provides vibrant pink hue without affecting texture, though you'll need approximately 1-2 tablespoons of liquid to achieve similar intensity.
- → How should I store these pink treats?
Keep cookies in an airtight container at room temperature for up to one week. Place parchment paper between layers to prevent sticking. For longer storage, freeze unbaked dough balls for up to three months and bake fresh when needed.
- → What makes these different from regular sugar cookies?
Pink velvet cookies have a softer, more tender crumb similar to red velvet cake. The combination of baking powder and baking soda creates extra lift, while the higher butter content yields that characteristic melt-in-your-mouth velvet texture.
- → Can I make these gluten-free?
Yes, substitute the all-purpose flour with a quality 1:1 gluten-free baking blend containing xanthan gum. The texture remains remarkably similar, though the cookies may spread slightly more so consider chilling the dough longer.
- → Why are my cookies flat instead of thick?
Flat cookies usually happen when dough is too warm or butter was over-softened. Ensure proper chilling time and measure flour accurately—too little flour causes excessive spreading. Room temperature ingredients should be soft, not melting or greasy.