 Save
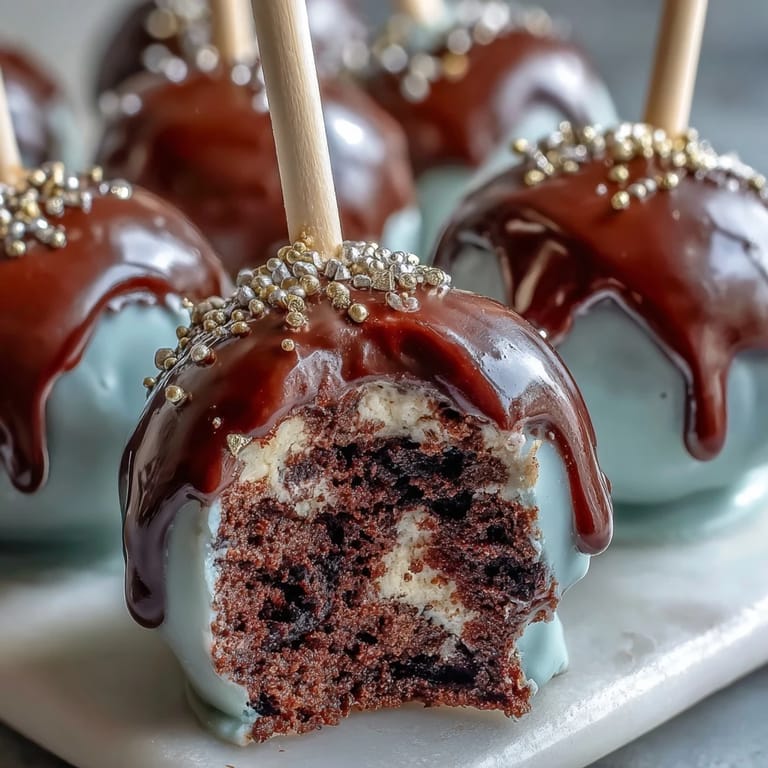
Save Last spring, my niece came home with her graduation cap tucked under one arm and a hopeful smile that made me want to do something special. She'd spent four years in maroon and gold, so when she mentioned wanting to celebrate with her friends, I thought cake pops in those colors would be perfect—something that felt both grown-up and genuinely celebratory. The first batch I made was a little lopsided, if I'm honest, but watching her face light up when she saw them arranged in the school colors made every imperfect pop worth it. Now I make these whenever someone I care about has a milestone worth marking.
I'll never forget the graduation party where I brought two dozen of these, arranged on a tiered stand with gold sprinkles catching the afternoon light. A mom pulled me aside later and asked if they were from a bakery—that moment of pride was almost as sweet as the cake itself. Her daughter ended up asking me to teach her the recipe, and now they've become a tradition in their family too.
Ingredients
- Vanilla or chocolate cake mix: One box makes the perfect foundation—I learned early on that homemade cake can crumble differently depending on humidity, so the consistency of a box mix is actually your friend here.
- Unsalted butter: Room temperature is non-negotiable; cold butter won't incorporate smoothly into the frosting no matter how hard you beat it.
- Powdered sugar: Sift it if you have time—it prevents lumps that show up when you're trying to roll smooth cake balls.
- Milk and vanilla extract: These bring the frosting to the right consistency and add a subtle flavor that balances the sweetness of the candy coating.
- Candy melts in school colors: Keep an eye out for specialty colors at craft stores around graduation season, and always buy a bit extra because melting and re-melting affects the amount.
- Vegetable shortening or coconut oil: This is the secret to a smooth, thin coating—without it, the candy melts become thick and clumpy, and your cake pops look rough.
- Gold sprinkles or edible glitter: Apply these while the coating is still wet, or they'll slide right off—I learned that lesson the messy way.
- Lollipop sticks: Having extras is smart; some break during the dipping process.
Tired of Takeout? 🥡
Get 10 meals you can make faster than delivery arrives. Seriously.
One email. No spam. Unsubscribe anytime.
Instructions
- Bake the Cake:
- Follow the package instructions and let the cake cool all the way down—a warm cake falls apart when you crumble it. If you're short on time, pop it in the freezer for twenty minutes to speed things up.
- Make the Frosting:
- Beat the softened butter until it's pale and creamy, which usually takes about two minutes with an electric mixer. Adding the sugar gradually prevents lumps and makes the frosting light and fluffy instead of dense.
- Combine Cake and Frosting:
- Crumble the cooled cake into large, consistent pieces rather than fine crumbs—this gives you better texture in your cake pops. Mix in the frosting slowly; you want the mixture to barely hold together when squeezed, not be damp like cookie dough.
- Roll and Chill:
- Use your hands or a small cookie scoop to keep the balls evenly sized, which helps them cook evenly later. The chill time is crucial because it prevents your cake balls from falling off the sticks during dipping.
- Secure the Sticks:
- Melting a bit of candy on the stick before inserting it acts like an adhesive and keeps everything from spinning mid-dip. Push the stick only halfway in so there's room for the coating without hitting the bottom.
- Coat with Color:
- Keep your candy melts at the right temperature—too hot and they're thin and runny, too cool and they're thick and uneven. Tap the stick gently against the bowl's edge to remove excess coating, which prevents drips and creates a clean finish.
- Add the Sparkle:
- Gold sprinkles stick best when the chocolate is still warm and slightly tacky, so work quickly and don't hesitate. If you miss spots, a second coat of sprinkles after the chocolate sets won't ruin the effect.
- Let Them Set:
- The Styrofoam block holds them upright while they dry, which usually takes thirty to forty minutes depending on room temperature. Resist the urge to touch them until the coating is completely hard—even a light finger mark will show.
 Save
Save There was a moment during my niece's party when I watched her proudly hand out these cake pops to her friends, and it struck me that sometimes the best way to celebrate someone is by making something with your hands that shows you were thinking of them. That's when these stopped being just a dessert and became a way of saying, "I see you, and this moment matters."
Choosing Your School Colors
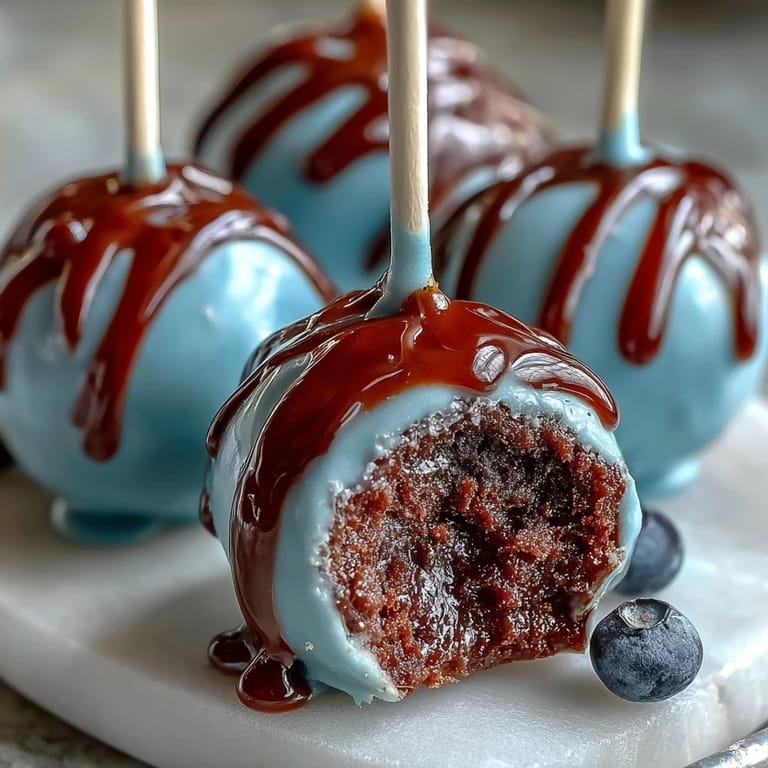
Before you start melting anything, spend a minute thinking about which colors will look best together. I've found that one bold color paired with one metallic or pastel candy melt creates visual interest without being overwhelming. If your school colors are similar in tone, swapping one for gold or white can make them pop, and honestly, the gold sprinkles tie everything together so nicely that the eye is drawn to the sparkle first.
Timing and Make-Ahead Magic
The beauty of these cake pops is that you can make them days in advance without any quality loss. I typically bake the cake and make the frosting a day or two before the event, then assemble and decorate the morning of the celebration. They keep beautifully in an airtight container at room temperature for three days, which means you can stress about other party details instead of last-minute dessert prep.
Variations and Personal Touches
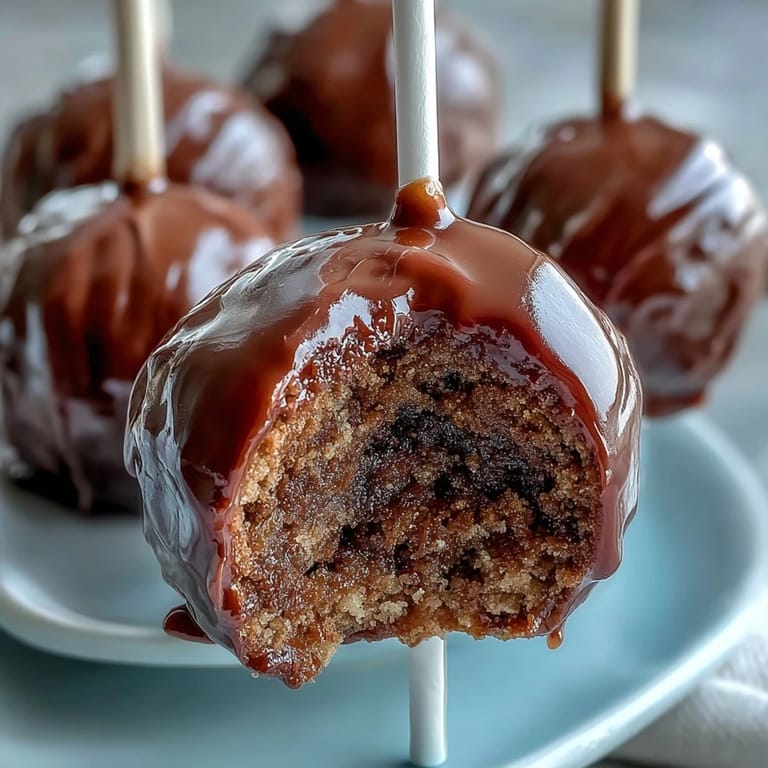
Once you master the basic technique, the possibilities open up—I've made these with chocolate cake and mixed them with different frosting flavors for people with specific preferences. The year my cousin graduated from culinary school, I added a thin white candy melt drizzle on top of the colored coating and used pearl sprinkles instead of gold. Each adaptation felt special and personal, which is really the whole point of making something by hand for someone you care about.
- Try cream cheese frosting with chocolate cake for a slightly more sophisticated flavor profile.
- Add a thin ribbon in a school color tied around each stick for an extra elegant touch.
- If you're feeling fancy, dip half of each pop in one color and half in another for a bold two-tone effect.
 Save
Save These cake pops remind me that celebration doesn't have to be complicated to feel meaningful—sometimes the most memorable gifts are the ones made with a little time, a little care, and a whole lot of gold sprinkles. I hope they become part of your celebration tradition too.
Recipe Questions & Answers
- → How do I achieve smooth coating on cake pops?
Adding vegetable shortening to melted candy melts helps create a smoother and shinier coating that's easier to work with.
- → What is the best way to secure sticks in the cake pops?
Dipping the stick end into melted candy before inserting stabilizes the pop and prevents it from falling off during decoration.
- → Can I use different cake flavors?
Yes, vanilla or chocolate cake mixes work well. Adjust candy melt colors for contrast if using darker cake flavors.
- → How long should cake pops chill before dipping?
Chilling the shaped cake balls in the refrigerator for at least one hour firms them up, making them easier to coat.
- → What’s a good storage method for these cake pops?
Store in an airtight container at room temperature for up to three days or refrigerate up to one week to maintain freshness.